Need help in using our Shopify app?
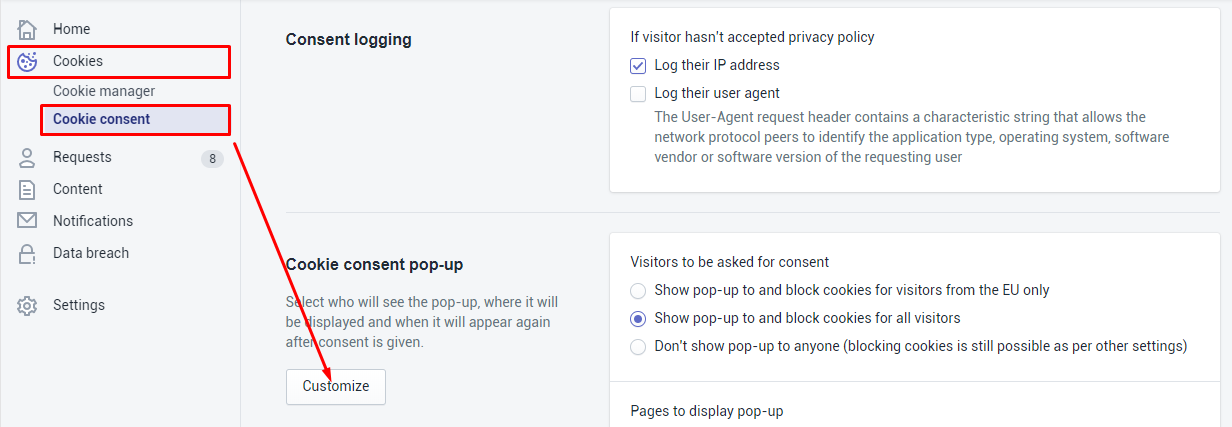
To customize the look and content of the cookie popup, go to Cookies > Cookie Consent and choose Customize in Cookie Consent pop-up
|
|
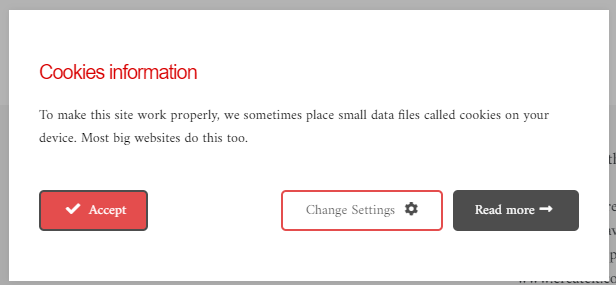
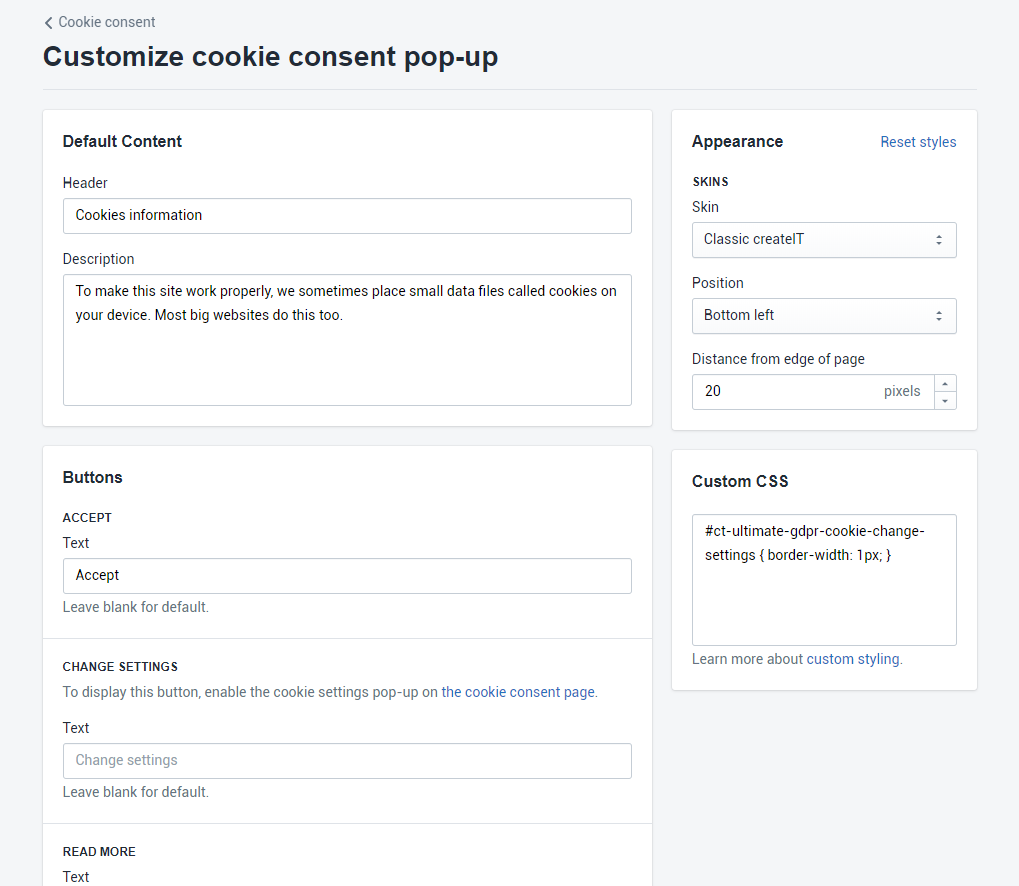
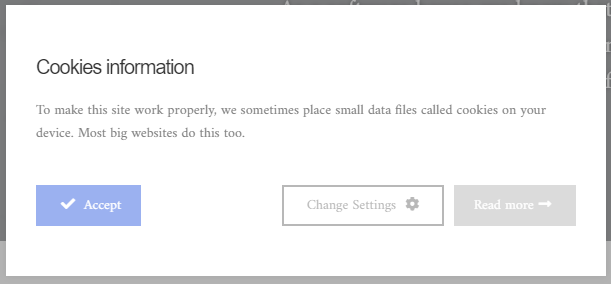
Default Content - Details in the cookie popup that informs the user of its use.
- Header - Set the text for the header of the pop-up
- Description - Set the text for the description of the pop-up
Buttons In this section set text for the buttons used in the pop-up:
- ACCEPT
- CHANGE SETTINGS
- READ MORE - Also allow to choose the page to which user will be redirected after clicking the button.
Translation for English - Prepare a translation for the Customize cookie consent pop-up. The translation will be used when certain language is detected.
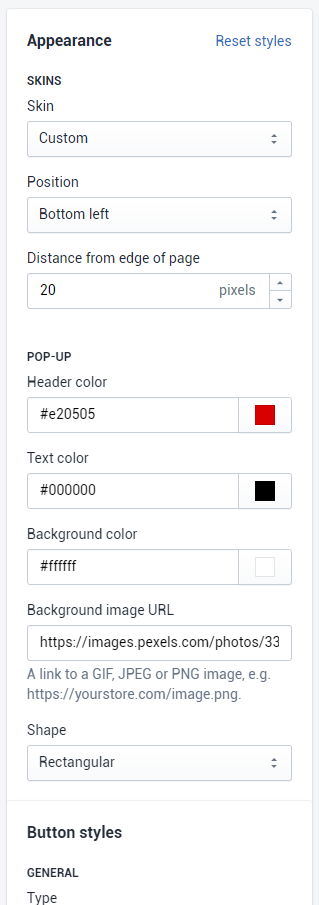
Appearance - Edit appearance of the Customize cookie consent pop-up
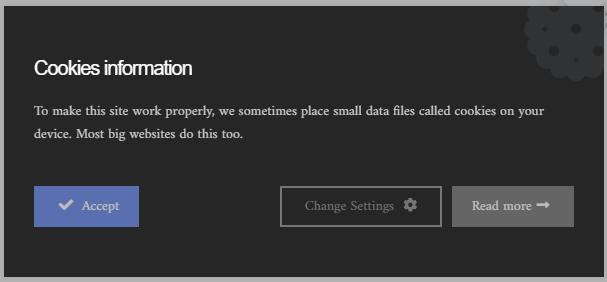
Skin - Choose one of the Customize cookie consent pop-up’s skin which will fit your website the best (there is 20 skins to chose from!) for example:
Classic dark
Classic light
Position - Choose the possible position from 7 options (Top left, Top gull width, Top right, Bottom left, Bottom full width, Bottom right)
Distance from edge of page - Set the distance from the edge in pixels
Custom CSS - Custom CSS style for the cookie popup.
Note
These additional options will show and work only with the Skin type: Custom.
|
Appearance
- Header color - Choose the custom color of the header text
- Text color - Choose the color of the description text
- Background color - Choose the color which will be used for the pop-up background
- Background image URL - Instead of choosing background color can be used a link to a GIF, JPEG or PNG image
- Shape - Choose one of the available shapes of the pop-up box (Rectangular, Rounded corner 5px, Rounded corners 25px)
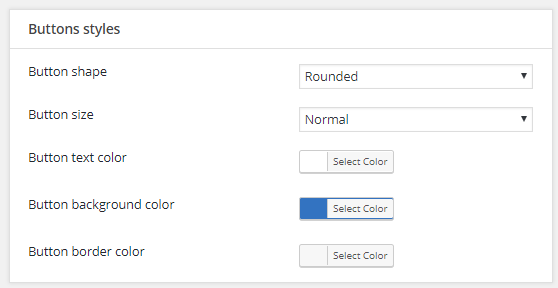
Button styles
- Type - Choose between showing the button with icons and text or only with a text content
- Shape - Choose one of the available shapes of the buttons (Pill shape, Rounded corner, Rectangular)
- Text color - Choose the color of the button text
- Background color - Choose the color which will be used for the button background
- Border color - Choose the color which will be used for the button’s border background
- Border width - Choose the width of the buttons’ border
There are 3 sets of these options below that will allow to separately style Accept button, Change settings button and Read more button
- Text color - Choose the color of the button text
- Background color - Choose the color which will be used for the button background
- Border color - Choose the color which will be used for the button’s border background
- Border width - Choose the width of the buttons’ border
Using the available option allow to create a custom looking pop-up for example:
|
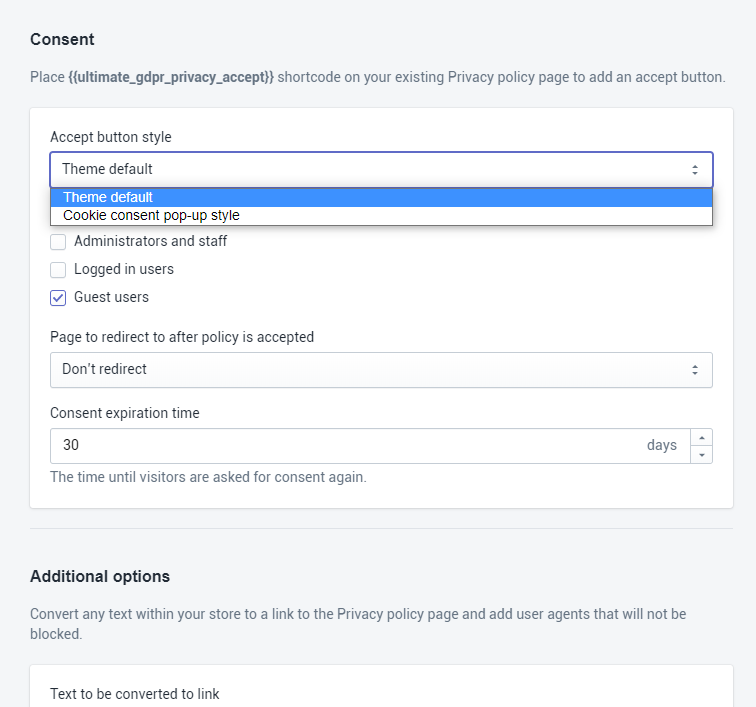
To customize the buttons for Terms and Conditions and Privacy Policy, you have 2 options: Theme Default or Cookie box buttons
Theme Default
This is the default button design that your WP theme is using. It will give you a uniform look to your site.
Cookie consent pop-up style
This option is using the same button design as the Cookie consent. Which you can change in Cookies > Cookie consent and click Customize in the Cookie consent pop-up section .
Detect whether a bot (Google bot) or a human enters the site and enforce the Terms and Conditions and Privacy Policy.
You can add the bot name in:
Note
You can see the bot database here
Note
This feature will show the plugins that are integrated in Ultimate GDPR that gather data from the users.

|
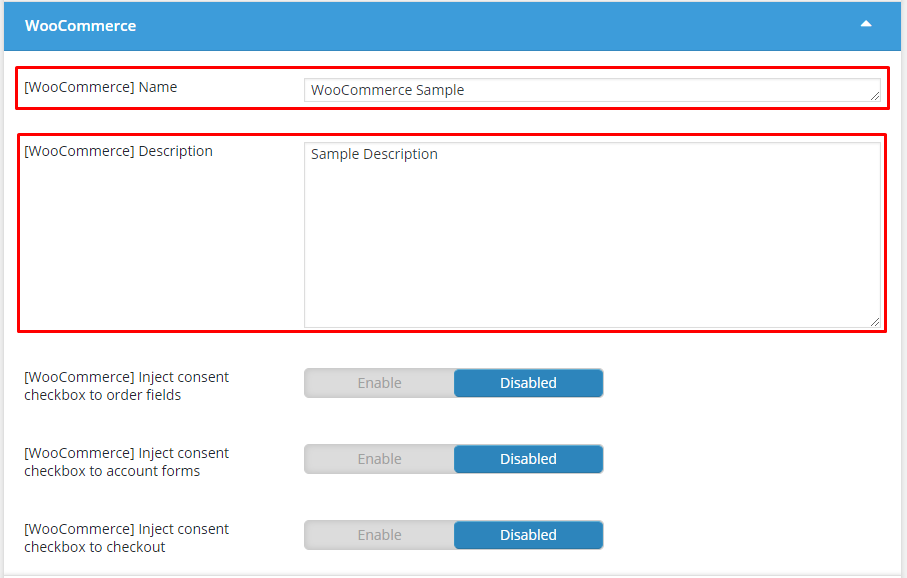
You can change the Name and Description that will be shown in the Forget Me tab of the GDPR shortcode.
To customize the text in the form for Right to be Forgotten, go to Ultimate GDPR & CCPA > Services.
Look for the service that you would like to change.
Note
For this example, we’ll use WooCommerce.
|
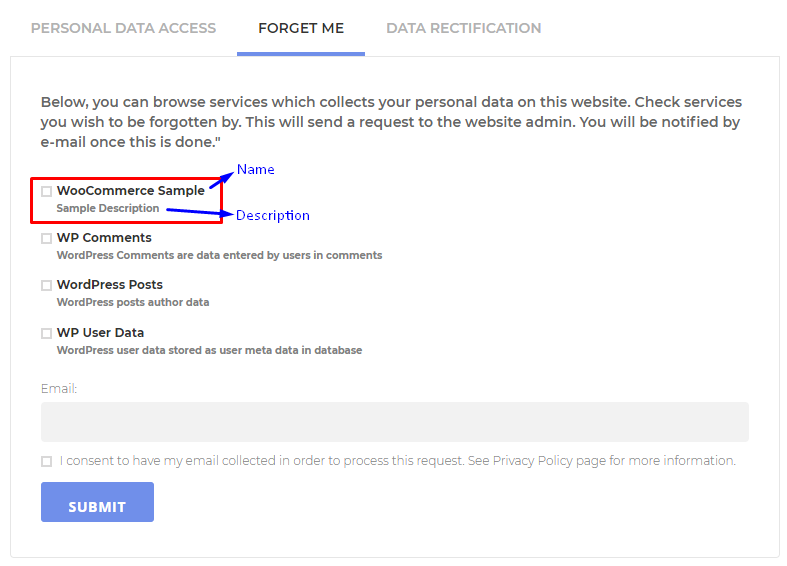
Add the Changes that you want, then click on the Save Changes button.
It should reflect in the form:
|
There are 2 ways to remove an option in the Right to be Forgotten form.
|
|
Note
This example will remove the WP Comment from the Right to be Forgotten form.
Adding a filter in the functions.php of the theme that is used
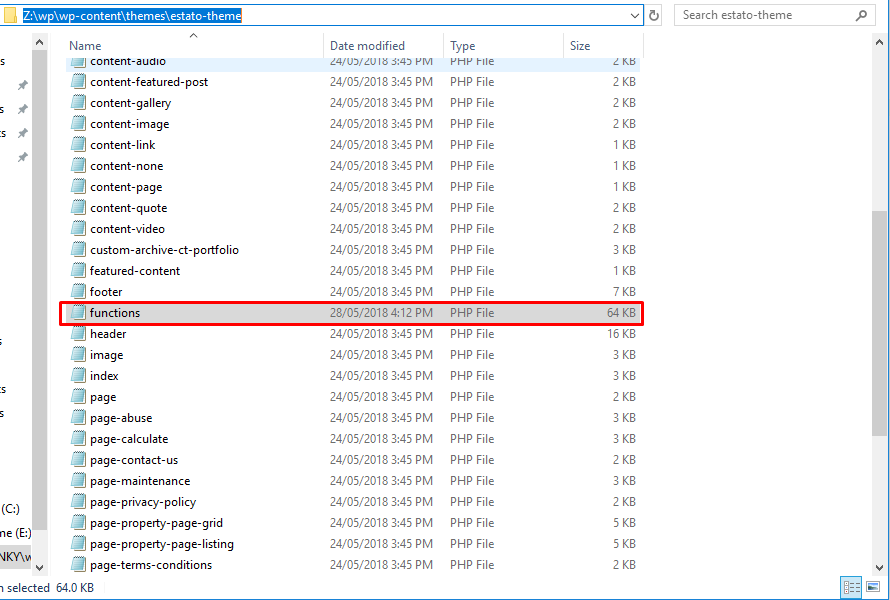
Add this filter in the file:
add_filter( 'ct_ultimate_gdpr_model_services_default', 'my_services' );
function my_services( $services ) {

foreach( $services as $key => $val ) {
if ( $val == 'CT_Ultimate_GDPR_Service_WP_Comments' ) {
unset( $services[ $key ] );
}
}
return $services;

}
Overwrite the Shortcode’s template
Create a Php file in your theme with a file name: shortcode-myaccount.php
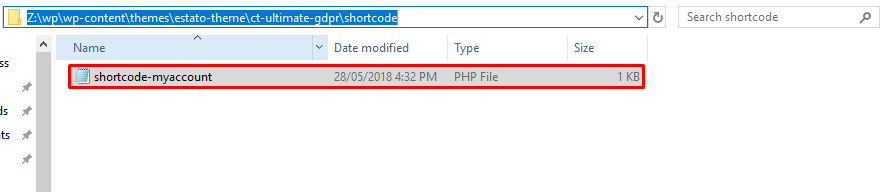
Then add this code in the file:
<?php

/** @var CT_Ultimate_GDPR_Service_Abstract $service */
foreach ( $options['services'] as $service ):

if ( $service->get_id() == 'wp_comments' ) :
continue;
endif;

?>
<div class="ct-ultimate-gdpr-service-options">
<div class="ct-ultimate-gdpr-service-option">
<input type="checkbox" name="ct-ultimate-gdpr-service-forget[]"
value="<?php echo esc_attr( $service->get_id() ); ?>">
</div>
<div class="ct-ultimate-gdpr-service-details">
<div class="ct-ultimate-gdpr-service-title"><?php echo esc_html( $service->get_name() ); ?></div>
<div class="ct-ultimate-gdpr-service-description"><?php echo esc_html( $service->get_description() ); ?></div>
</div>
</div>


<?php endforeach; ?>